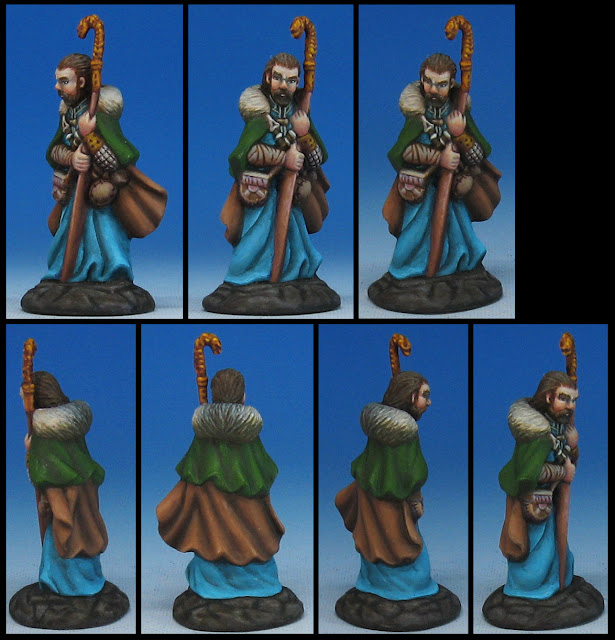
Shadows Over Camelot
A fun board game with lots of
Below: Work in progress photos of Merlin, starting out with no paint at all.
You can see the low quality of the material I'm working with.
You can see the low quality of the material I'm working with.
Below: Adding the teal robe, and the brown cloak.
Below: Here's the palette of colors I used for my browns. I like to move from one
color to the next quickly, dipping my brush in first one and then another
and then back again. This quickness creates opportunity
for wet blending in some areas.
Below: The green cape, and the palette of colors I used. I started with a red, a green,
and a yellow. You can see that I mixed the green with the red to get a rich
brownish color which I used in the shading. The yellow was mixed with
the green for the highlights.
You can see how I move my colors around on the palette, not being
afraid to mix them up as I go.
Below: The flesh tones are done.
Sadly, I didn't get a play by play or a picture of the palette as I went.
Below: Trying my first Non-metallic gold since I started painting again.
And the hair, staff and pouches are done.
Below: Here's my palette for the Non-Metallic Gold.
A red-purple, a bright yellow, dark umber brown, white.
Again, you can see how I move my brush around the palette,
taking from first one color, and then another, back and forth.
Mixing as I go.
The soda cap is usually filled with water, so I can dip my brush to add a
little extra to the paint as needed, or to do a down and dirty brush rinse
without having to return to my main rinse cup every time.
And Finished!
Tomorrow, we invade the Pictish lands...


No comments:
Post a Comment